How to Tie a Dropper Loop
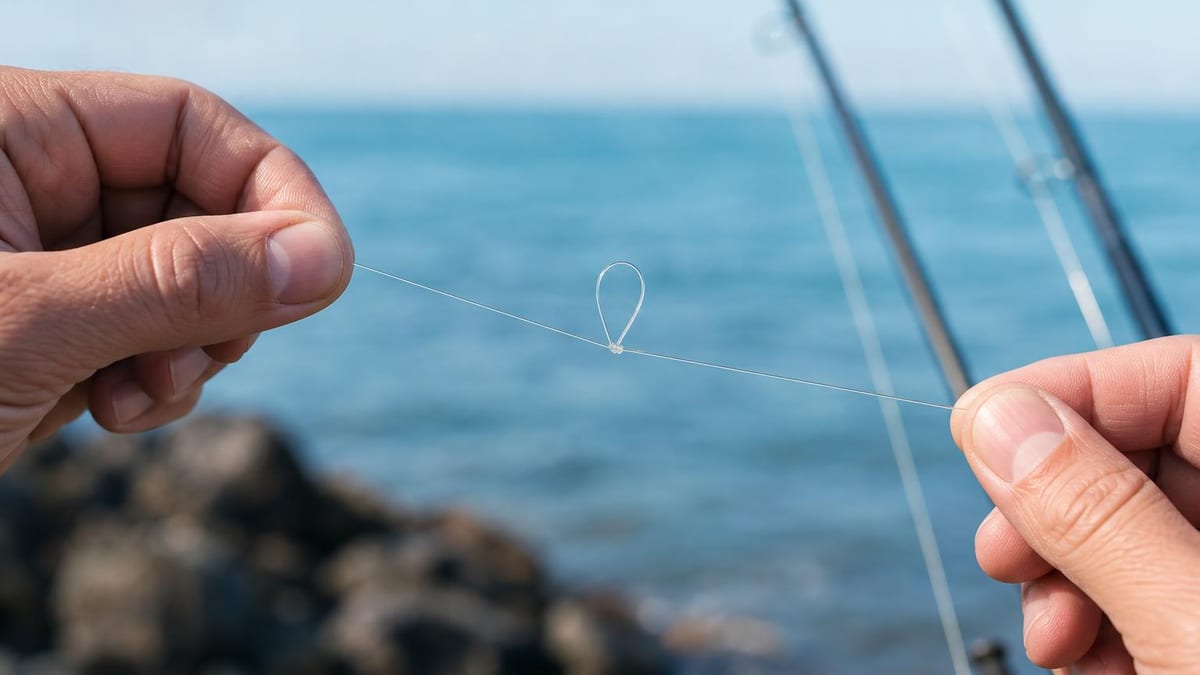
To tie a dropper loop, form a generous loop in the line where you want the branch, twist that loop five to eight times around itself, then push the original loop's midpoint through the opening at the centre of the twists and pull both line ends apart. The loop stands out perpendicular from the line — a branch point for a hook or jig that leaves the main line running straight.
Key takeaways
- Four steps: form a loop, twist five to eight times, pass the loop through the centre opening, moisten and seat.
- The result is a loop standing at right angles to the line — a branch, not a knot at the end.
- It is the backbone of multi-hook rigs: bottom rigs, sabiki-style bait strings, tandem jig setups.
- The centre opening is the make-or-break detail — keep it open with a finger or your teeth until the loop is through.
- Seat it by pulling both line ends apart, not the loop — done right, the twists collapse into two neat barrels.
- Check local rules on hook counts before building multi-hook rigs — limits vary by state and water.
How to tie it, step by step
- Type Loop knot
- Difficulty Moderate
- Best for Mid-line branch for multi-hook and bottom rigs
-
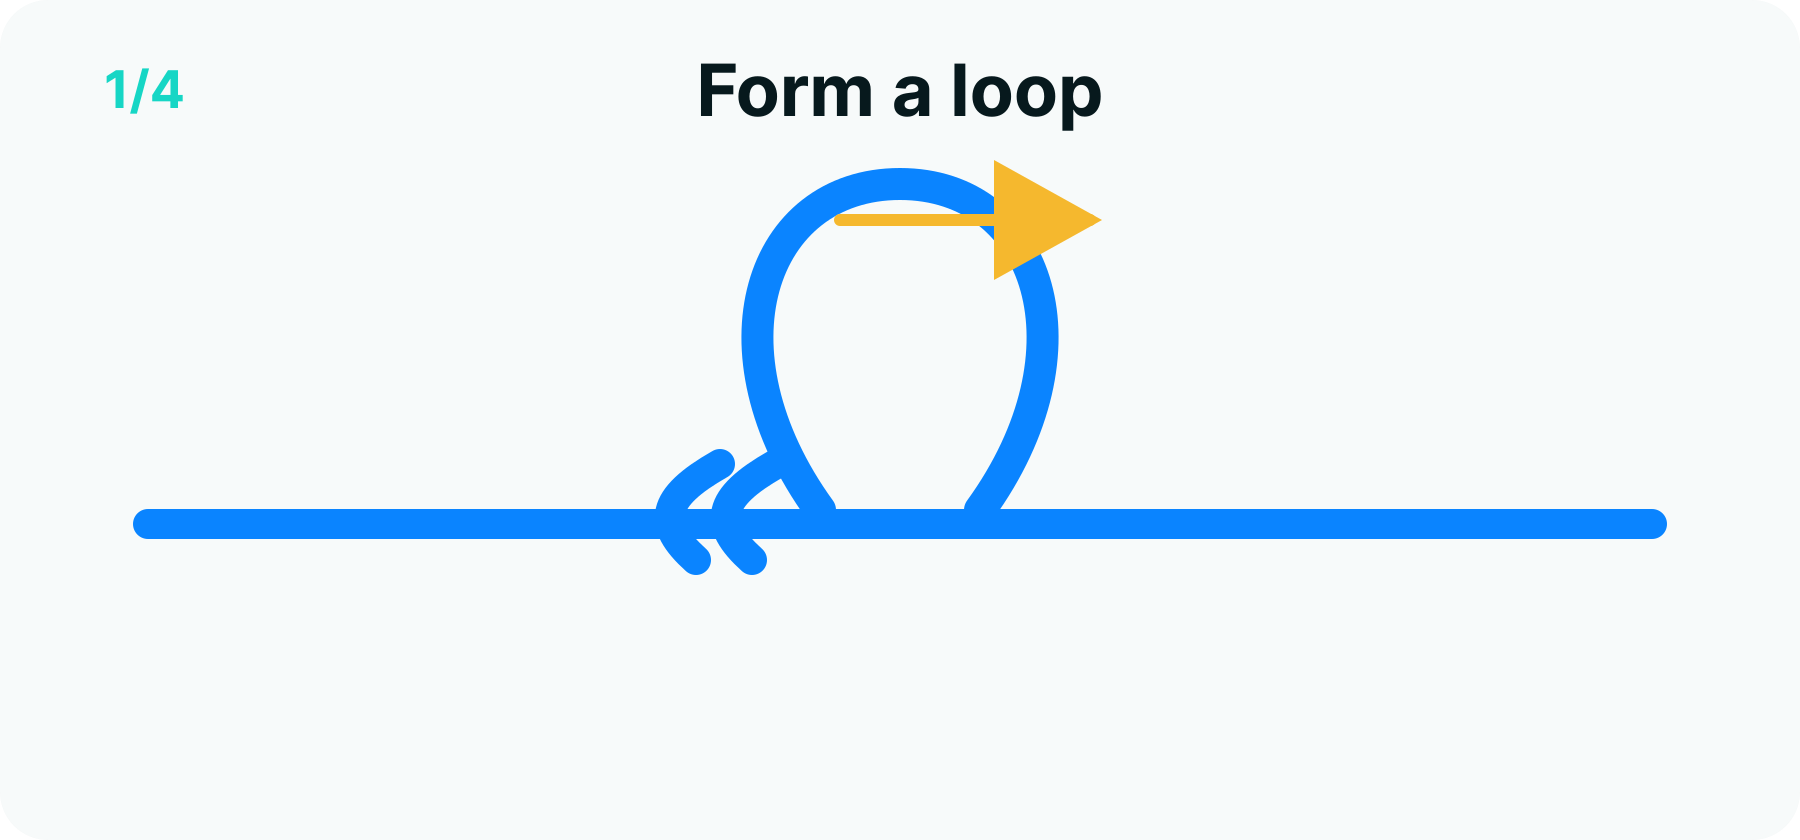 Step 1 of 4
Form a loop
Decide where on the line the branch should stand and form a generous loop there — six inches of line gives the twists room to work.
-
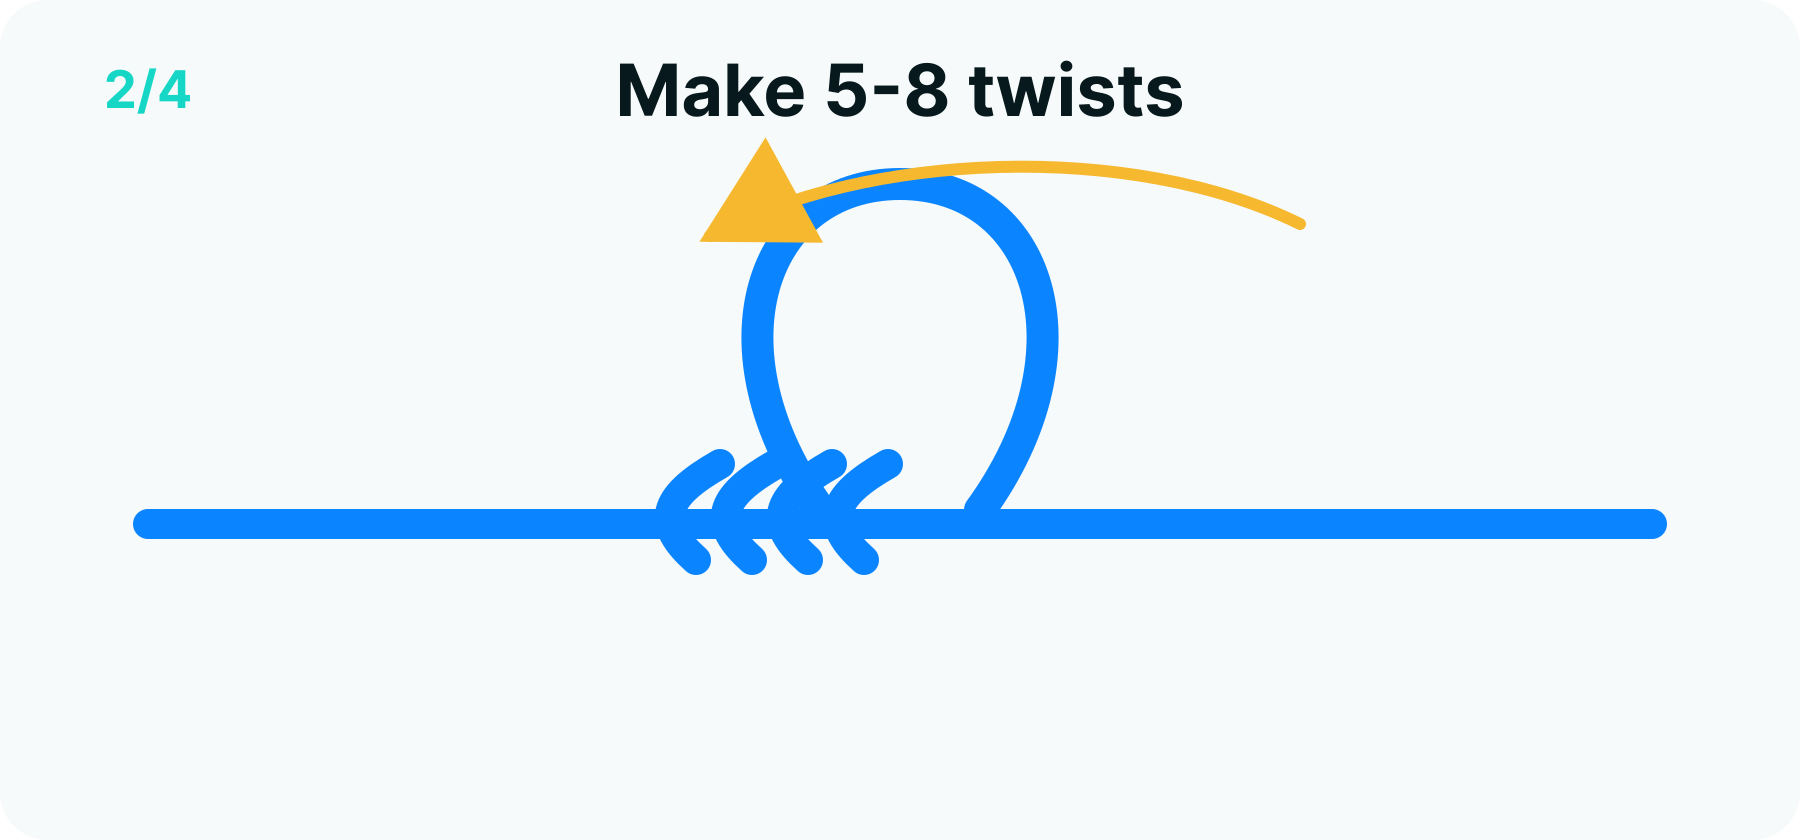 Step 2 of 4
Make 5-8 twists
Twist the loop around itself five to eight times, keeping light tension so the twists stack evenly. A small opening will remain at the centre of the twist column.
-
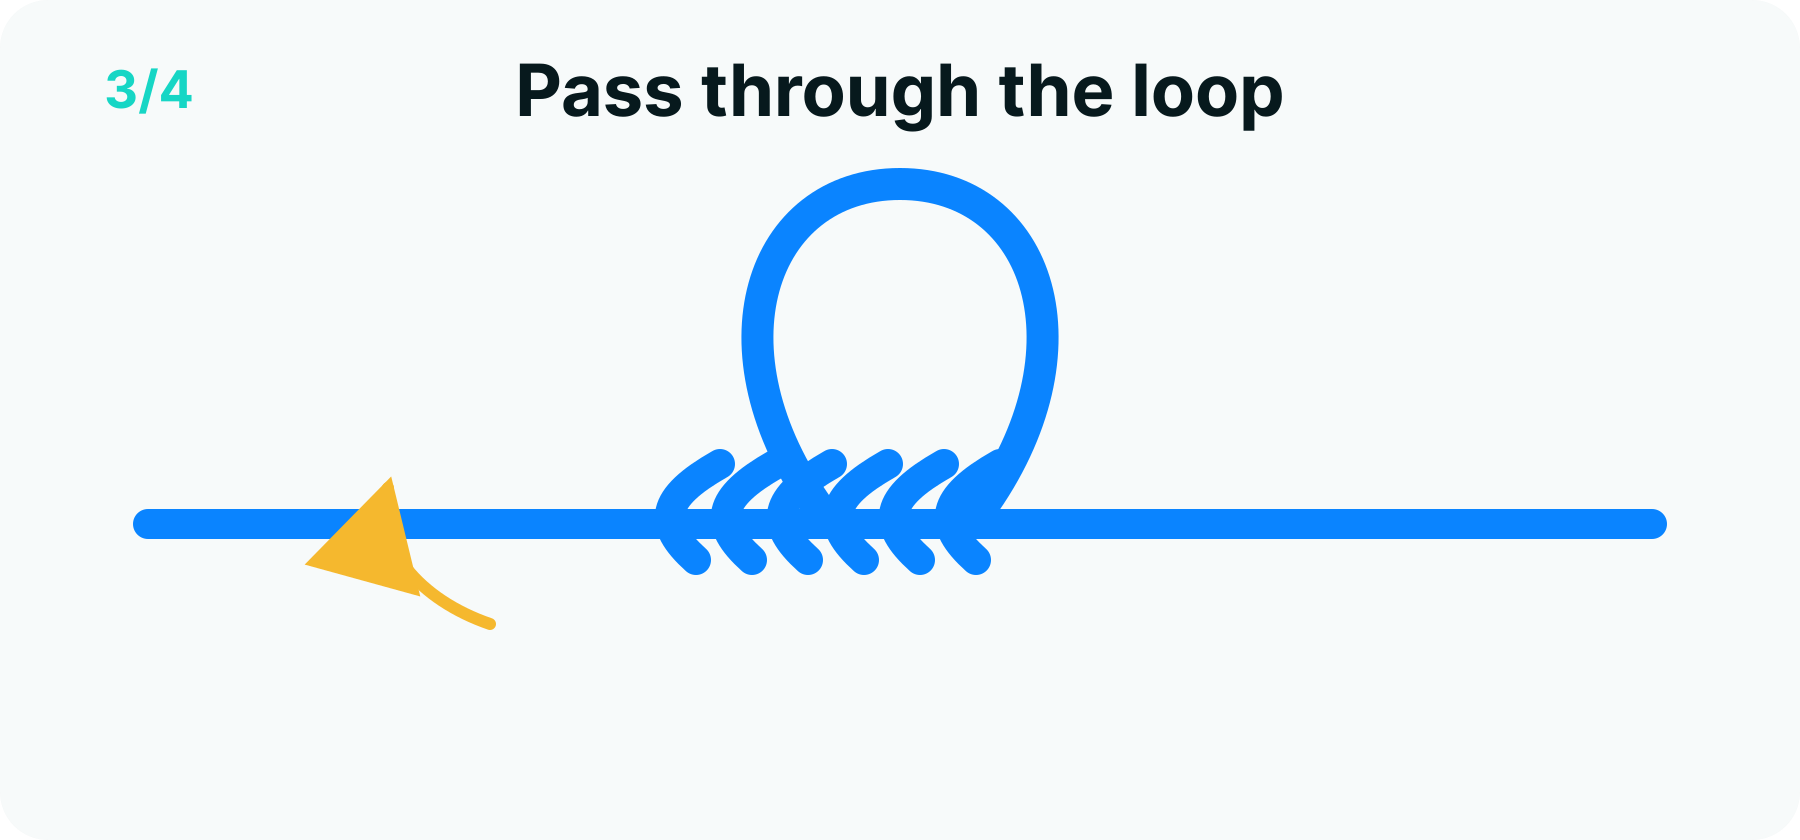 Step 3 of 4
Pass through the loop
Push the midpoint of the original loop through that centre opening. Hold it there — with a finger or your teeth — so it cannot slip back while you begin tightening.
-
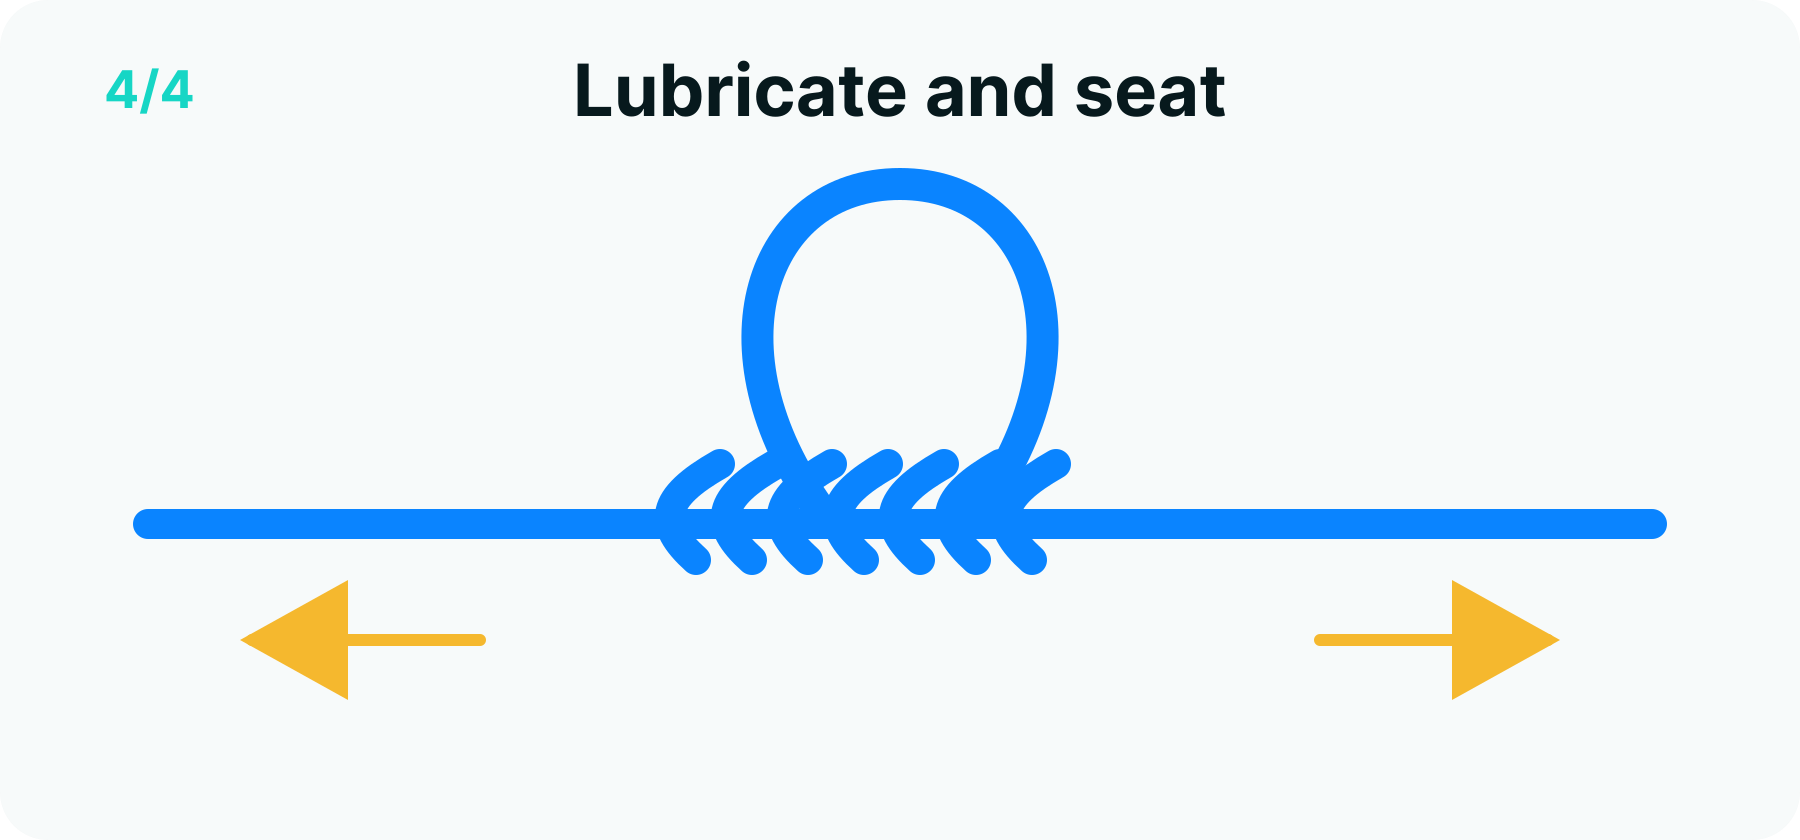 Step 4 of 4
Lubricate and seat
Moisten the twists, then pull both line ends steadily apart. The twists collapse into two neat barrels and the loop rotates up to stand perpendicular. Snug and inspect.
Same steps, animated and in your pocket: the knot guide inside the Fishing Club AI app walks you through every tie hands-free. Get the app.
The knot that grows a branch
Most knots live at the end of the line. The dropper loop is different in kind: it creates a junction in the middle — a loop that stands out perpendicular, like a branch from a trunk, while the main line continues straight through. Hang a hook on the branch, a sinker at the trunk’s end, and you have built the oldest and most productive bottom rig in fishing without a single piece of hardware.
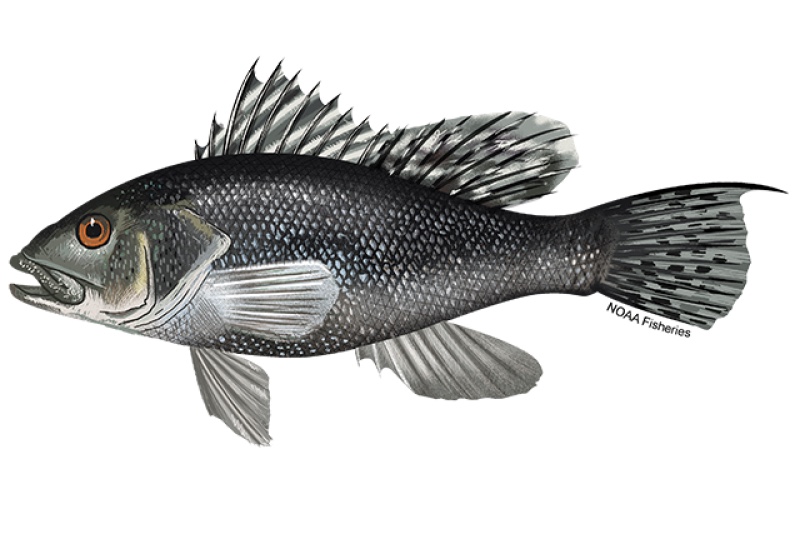
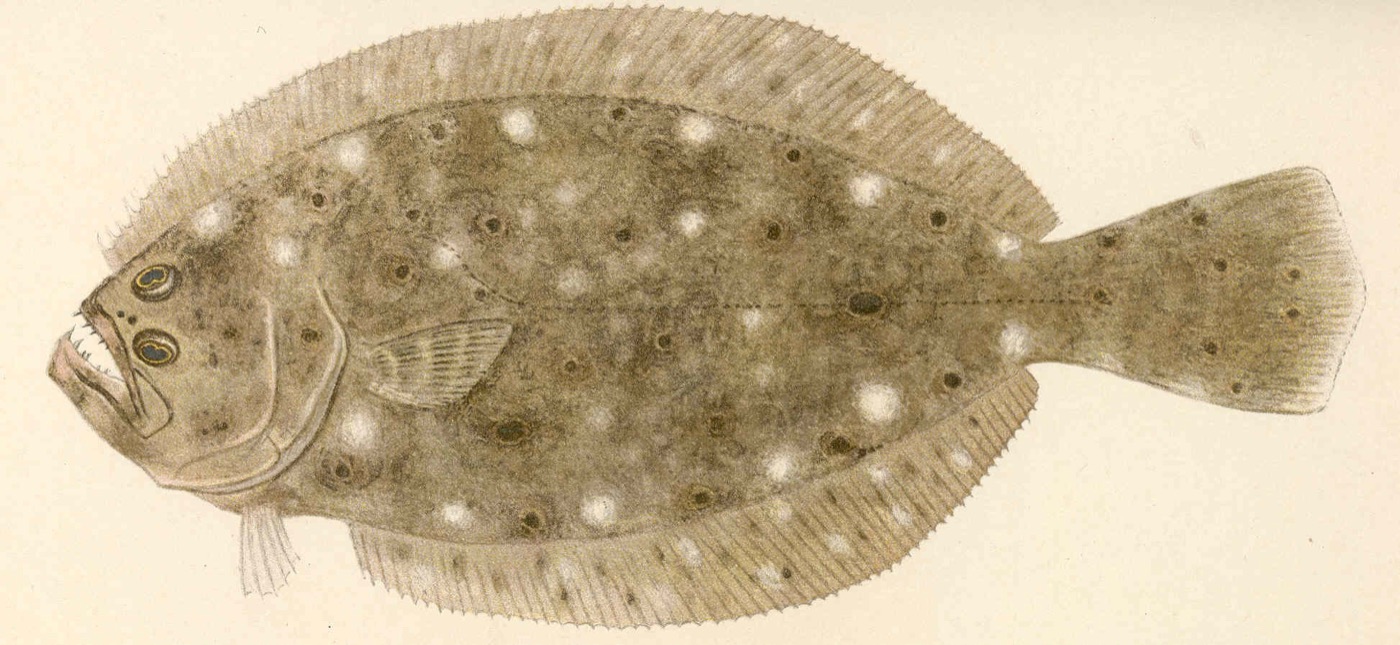
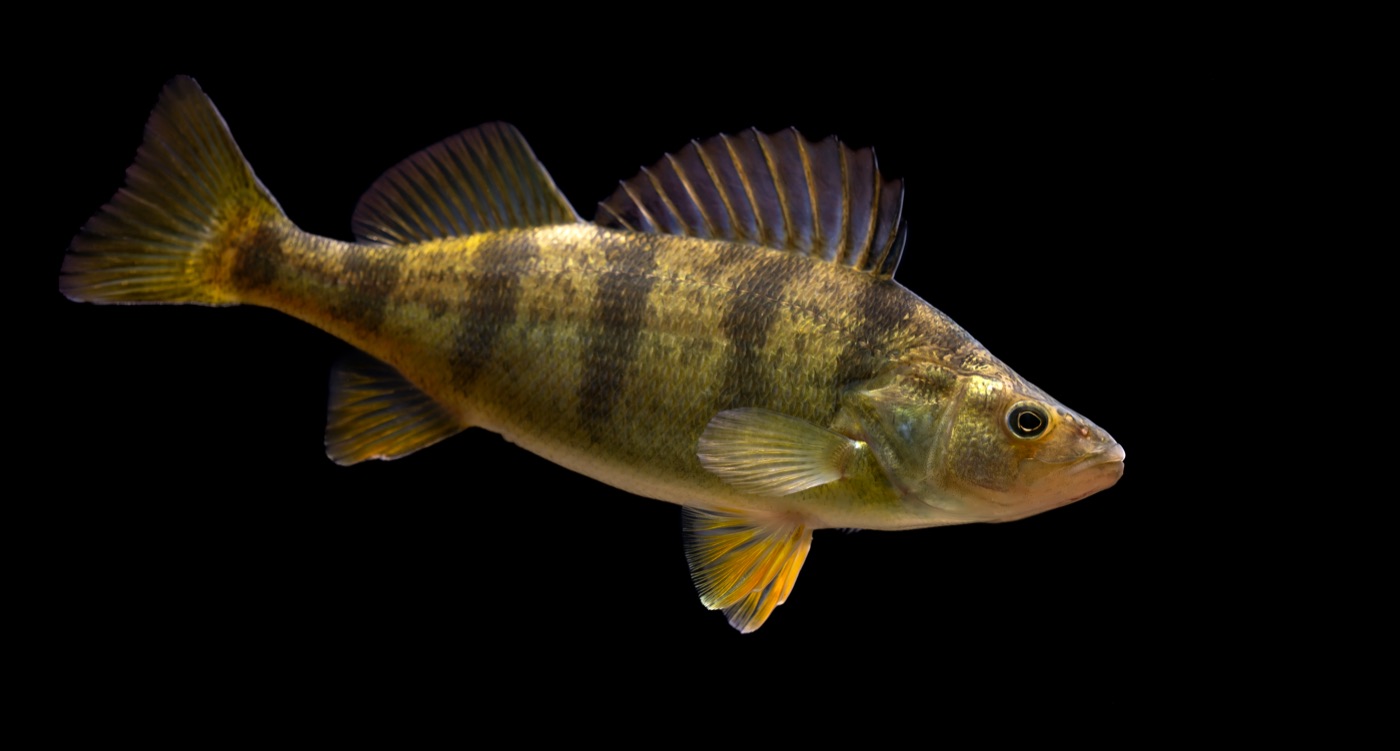
That is the dropper loop’s entire career: rig architecture. One loop above a sinker is the classic bottom rig for sea bass and flounder. Two loops make the twin-hook spreader that pier and boat anglers use everywhere. A string of them builds multi-bait rigs for schooling fish like perch — each bait held away from the line on its own stiff arm, fishing independently. Anglers who never tie it buy their rigs pre-made; anglers who learn it build exactly the rig the day requires, in minutes, for the price of line.
How a twist column becomes a standing loop
The tie looks like sleight of hand the first time, but the mechanics are plain. Twisting the loop stores the structure: five to eight turns wound around themselves, with a small opening left at the centre of the column. Passing the loop’s midpoint through that opening threads the future branch through its own hinge. And the final pull — both line ends drawn steadily apart — collapses the twists into two tight barrels that jam against each other with the loop trapped upright between them.
Two details decide success. The first is the centre opening: it wants to close the moment you stop watching, so hold the passed loop in place — fingertip or teeth, every experienced tier does one or the other — until tension takes over. The second is where the pull comes from. The seat must be driven entirely by the line ends; the loop stays passive. Pull the loop itself and it steals line from the barrels, the geometry forms lopsided, and the branch flops flat against the main line instead of standing proud — the signature look of a dropper loop tied almost right. Moisten before the pull, as with the whole knot family, and watch the barrels form: two even spirals, loop standing at attention between them.
Hanging a hook on the finished loop takes seconds: pass loop through eye, flip it over the hook, snug. No extra knot, and swapping hook sizes later is just the same move reversed. The alternative — clipping the loop’s far end to make a single stiff strand and tying on conventionally — trades that convenience for an even straighter standing arm.
Building rigs — and staying inside the rules
A practical bottom rig from bare leader: uni knot or improved clinch to the sinker at the bottom; a dropper loop eight to twelve inches up for the first hook; a second loop the same distance above if the day calls for it; double uni at the top where leader meets braid. Every joint in that rig comes from this site’s diagrams, and the whole thing rebuilds streamside in five minutes.
One genuine caution belongs here. Multi-hook rigs are precisely where hook-count regulations apply, and those limits differ by state, by water, and sometimes by species. Before stacking a third branch on a rig, check your state agency’s current regulations — agency pages, not habit, set the number. It is the same discipline that runs through our licensing guide: the rules are local, and the current ones are the only ones that count.
Past that, the dropper loop is pure upside: one mid-line motion that turns a plain leader into whatever rig the water asks for. Tie it a few evenings at home until the twist-pass-pull sequence flows — the animated walkthrough in the Fishing Club AI app’s knot guide runs it as many times as your fingers need — and pre-made rigs become something you used to buy.
Frequently asked questions
What is a dropper loop used for?
Creating a branch point in the middle of a line or leader. The standing loop takes a hook, a fly or a light jig, while the main line continues down to a sinker or another hook — the architecture of the classic two-hook bottom rig, multi-bait strings, and tandem setups. Because the loop stands stiffly perpendicular, the branch holds its bait away from the main line instead of wrapping around it on every drop.
How many twists should a dropper loop have?
Five to eight, as our diagrams show. Fewer than five and the finished barrels lack the grip to hold the loop's angle under load; many more than eight and the twist column becomes hard to seat cleanly, especially in heavier leader. Mid-range suits most line weights — and as always, the seated knot is the referee: two neat, even barrels flanking the loop mean the count was right.
How do you attach a hook to a dropper loop?
Two clean ways. The quickest is loop-through-eye: pass the loop through the hook eye, flip it over the hook, and pull snug — no knot, changeable in seconds. The alternative is cutting the loop at its far end to create a single strand and tying the hook on conventionally, which turns the loop into a stiff monofilament arm. The first method keeps the rig adjustable; the second makes the branch stand out straighter under casting loads.
Why does my dropper loop lie flat against the line instead of standing out?
Either the twist count was too low or the knot was seated by pulling the loop instead of the line ends. The perpendicular stance comes from the two twist barrels jamming against each other with the loop trapped between them — that geometry only forms when the two line ends are pulled apart while the loop stays passive. Retie, keep a finger in the loop to hold its position, and drive the seat entirely from the line ends.
How many dropper loops can I put on one rig?
Mechanically, several — each loop is independent, and bait strings stack many branches on one leader. Legally, it depends where you fish: states set limits on hooks per line that vary by water and species, and multi-hook rigs are exactly where those rules bite. Check your state agency's current regulations before building anything beyond a two-hook rig — the regulations page, not a forum thread, is the source that counts.
Sources
- How to Tie Dropper Loop Knot — Take Me Fishing (Recreational Boating & Fishing Foundation). Accessed August 12, 2026.
- Knot Tying Lesson Plan, I FISH NY Program — New York State Department of Environmental Conservation. Accessed August 12, 2026.
- Common Fishing Knots, I FISH NY — New York Sea Grant, Stony Brook University. Accessed August 12, 2026.
- Saltwater Fishing Rigs — Take Me Fishing (Recreational Boating & Fishing Foundation). Accessed August 12, 2026.
- Learn to fish: tying the knot — Utah Division of Wildlife Resources. Accessed August 12, 2026.
How we choose sources: sources policy.
More in this series
Know when it's worth going.
Fishing Club AI turns live weather, pressure and moon data into a simple bite forecast for your spot — so the skills you practise get used on the right day.
Get the App